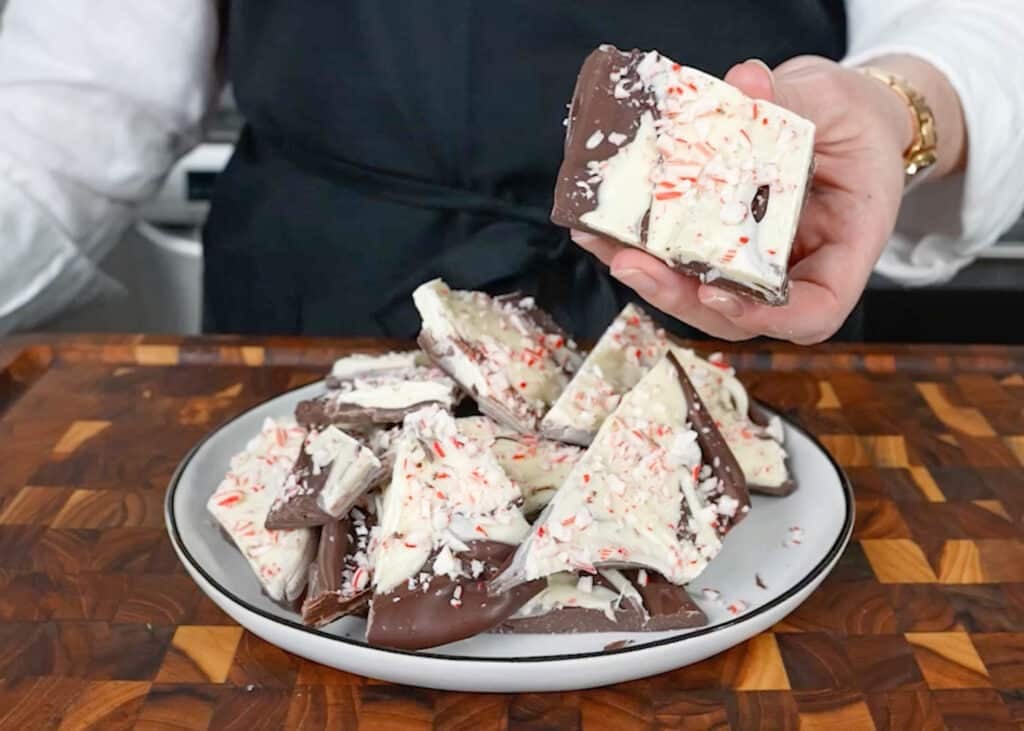
This five minute Peppermint Bark is smooth, sweet chocolate layered with cool peppermint, and my boys can’t get enough of it. Make a batch for a party, or package it up as a gift for a friend.
Similar to the Christmas batches of peppermint marshmallow fudge that I like gifting to friends, peppermint bark is a cinch to make and requires just a few ingredients you may already have in your pantry. It’s perfect for packing into pretty tins or bags, or for serving on dessert trays at holiday parties. Once you see how easy this is to make this peppermint bark recipe, you’ll likely never be tempted to buy it again.
Peppermint Bark

I’ve been making this recipe as a holiday treat for friends and family for many, many years now. It’s even been a requested stocking stuffer for my boys over the years, and I’m looking forward to making it again this fall.
Sometimes, you’ll see a recipe for peppermint bark call for a full layer of white chocolate on top of milk or dark chocolate. But, I choose to swirl the chocolates together for a couple of reasons.
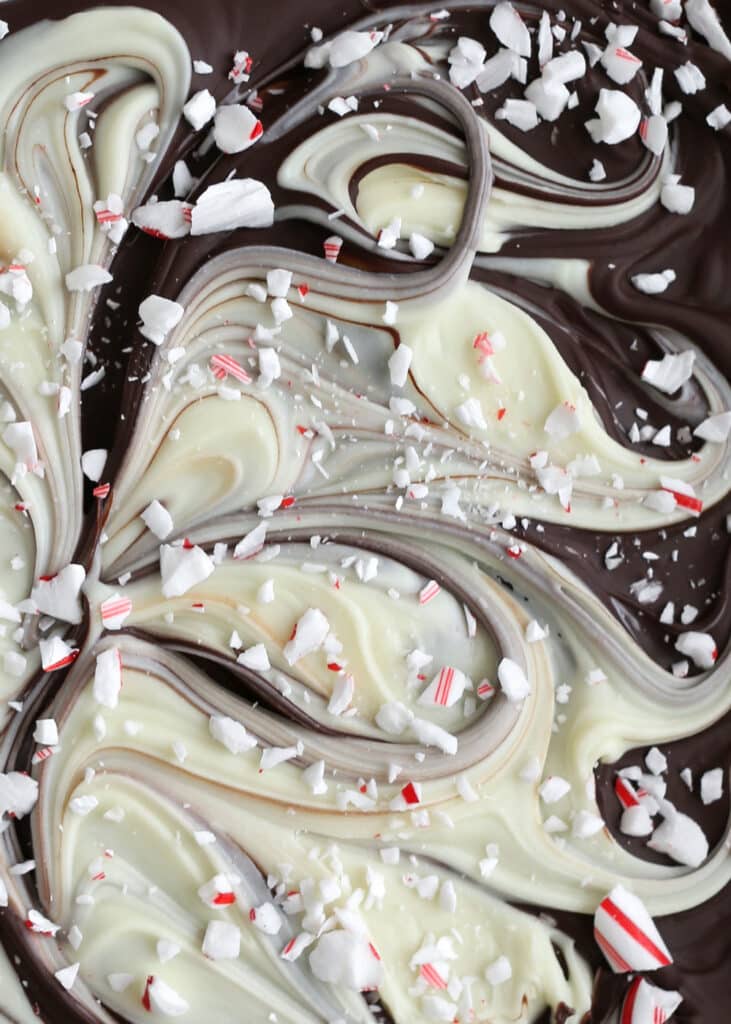
First, the two different colored chocolates all swirled and spiraled together simply looks prettier. And more practically, that swirl helps hold the dark and white chocolate together. There’s less chance of the two chocolates separating when you slice the chocolate into individual pieces. This way you get all three main flavors–white chocolate, dark chocolate, and peppermint–in each and every bite of peppermint bark.
Ingredients and Substitutions
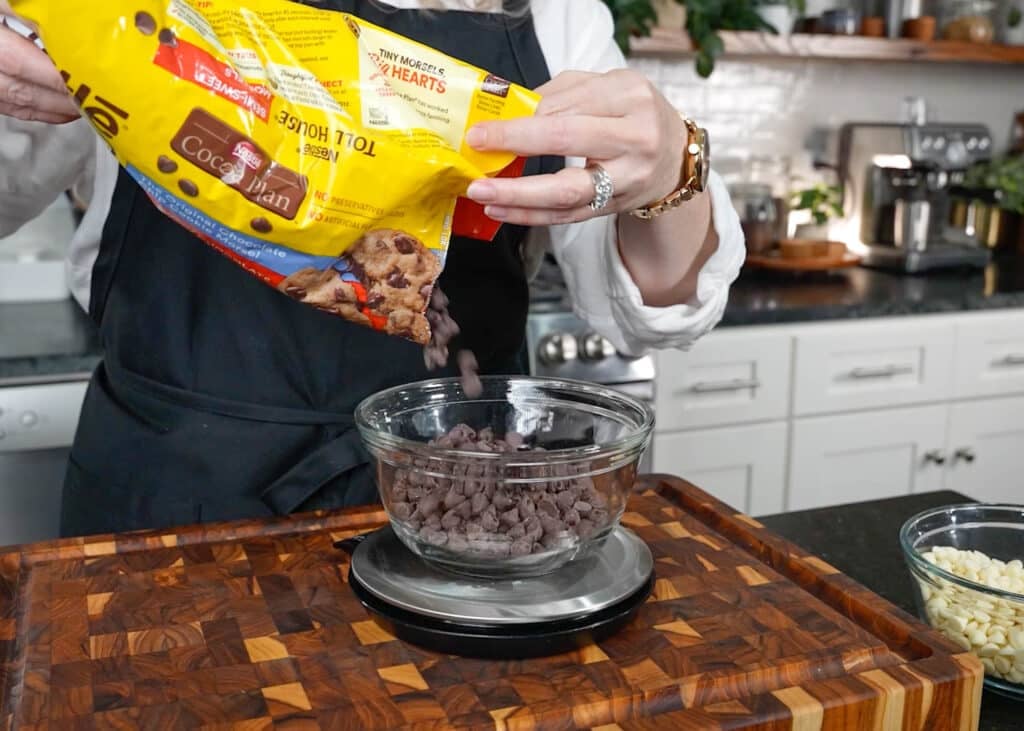
The Chocolate – I use both white chocolate and semi-sweet or dark chocolate.
Peppermint – You’ll need real peppermint extract to add that unmistakeable sharp, minty flavor.
Candy Canes – Candy canes provide that iconic, seasonal topping.
How to Make Peppermint Bark
Lining the Baking Sheet: To start, I line a baking sheet with parchment paper.
Cutting the Chocolate: If you’re not using chocolate chips, you’ll want to chop the chocolate into small, easily meltable pieces,
Portioning the Chocolate: Place the white chocolate and semi-sweet chocolate into two separate microwave-safe glass bowls.
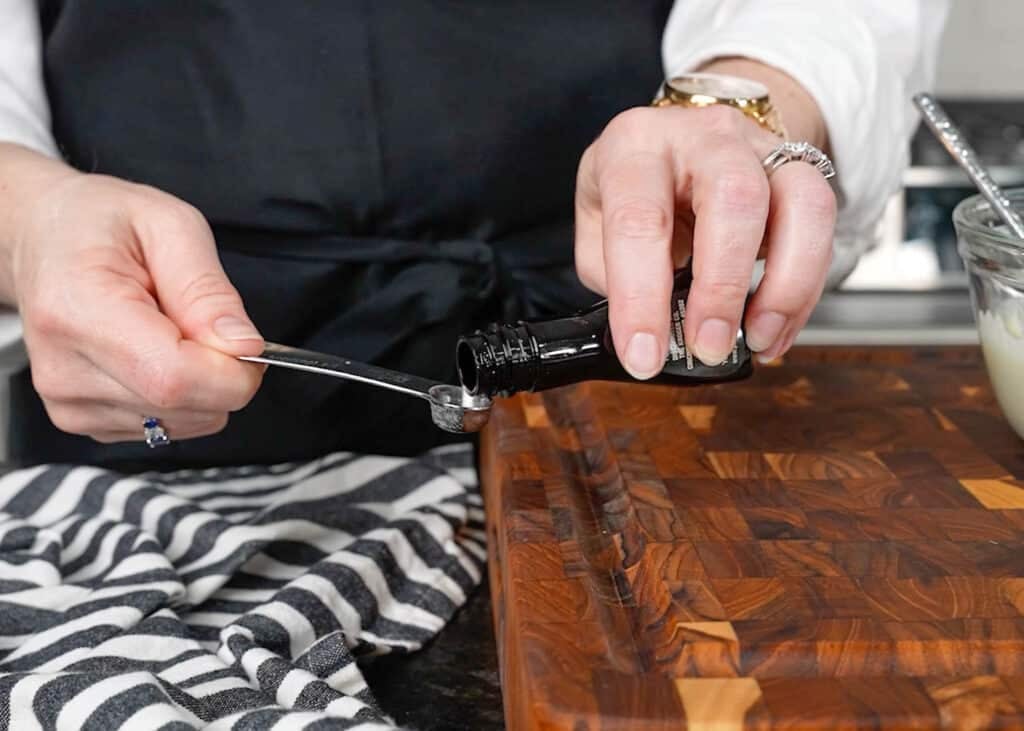
Adding the Extract : I add 1/4 teaspoon of peppermint extract to each bowl.
Heating: First up, we’re going to heat the dark chocolate in the microwave at 50% power, stirring every 30 seconds or so. Do NOT heat at full power. See my Expert Tip for instruction on melting chocolate in the microwave without scorching.
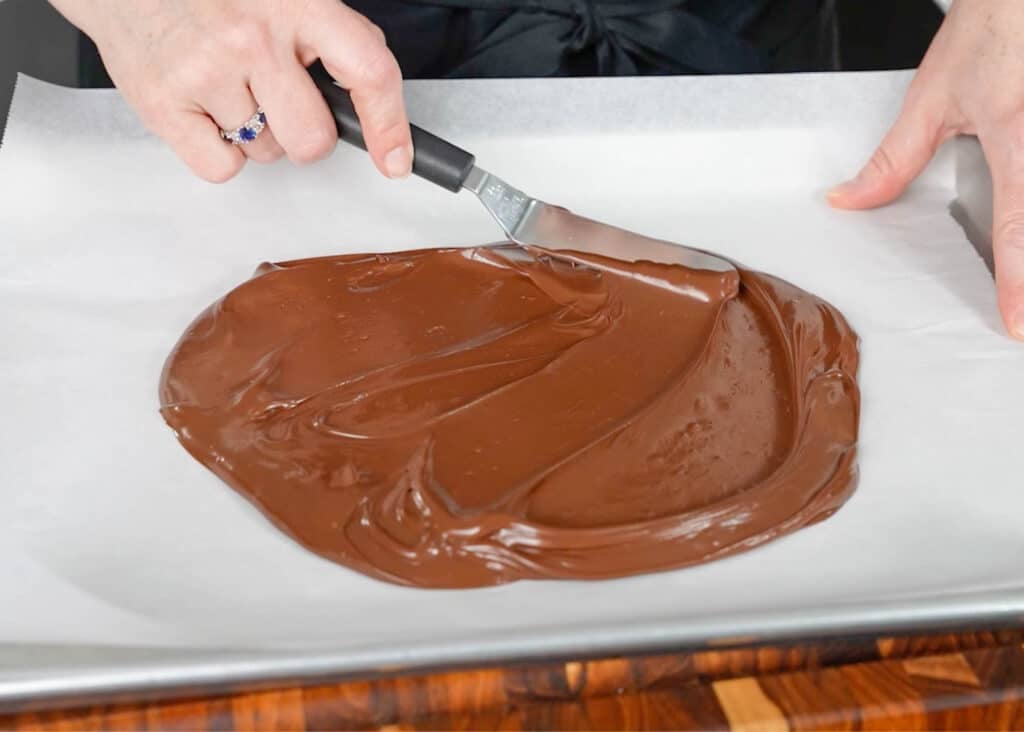
Pouring & Spreading: I pour the chocolate onto the lined baking sheet and use a spatula to spread it evenly across the paper.
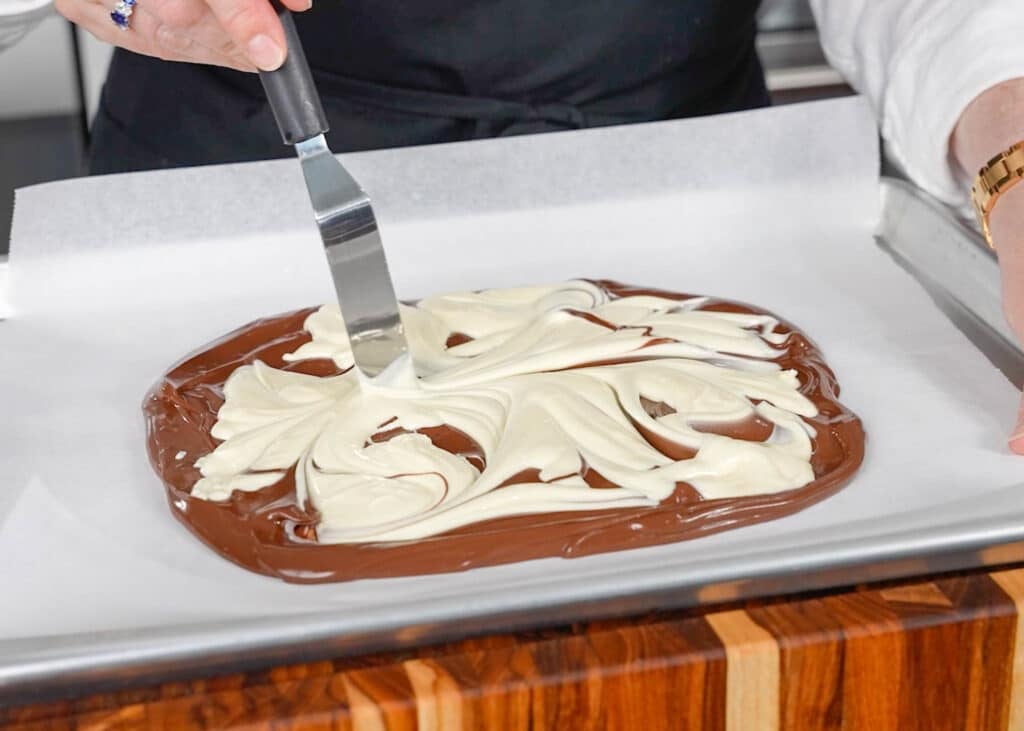
Heating the White Chocolate: Repeat the heating, stirring, and pouring steps for the white chocolate. I use a spoon to drizzle the white chocolate on top.
Swirling: You can use a knife or the edge of the spatula to lightly swirl the chocolates together.
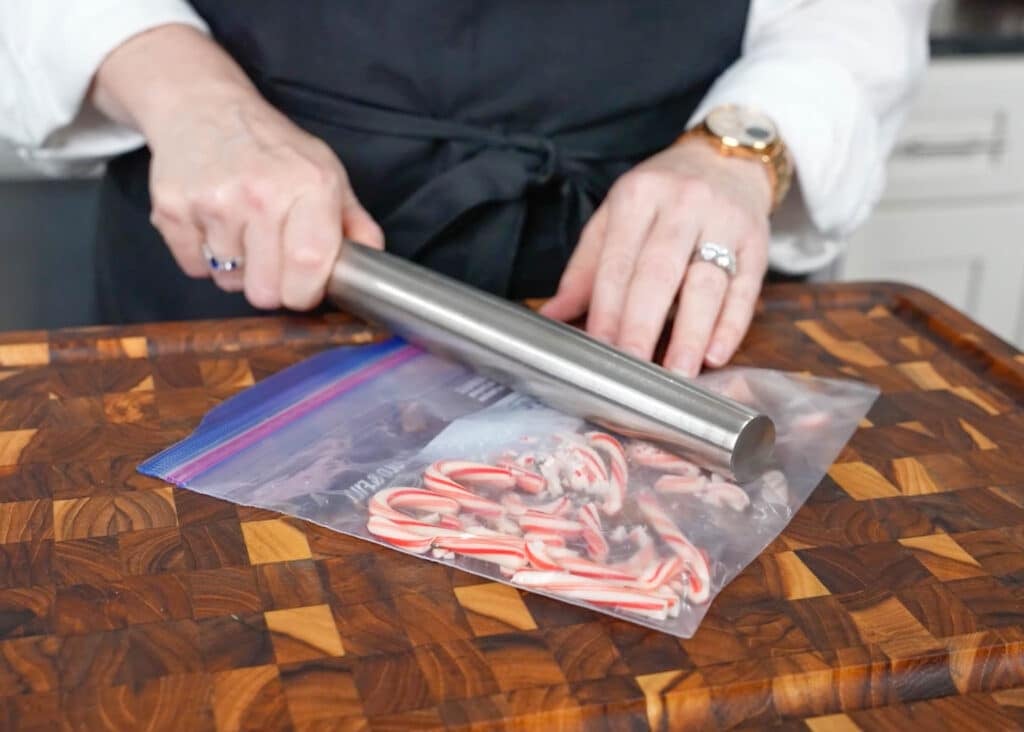
Crushing the Candy Canes: Place the candy canes in a sturdy zipclose bag. Then, use the back of a heavy measuring cup or a rolling pin to crush the candy.
Sprinkling with Candy Canes: I sprinkle the candy canes on top of the melted chocolate, while it’s still warm.
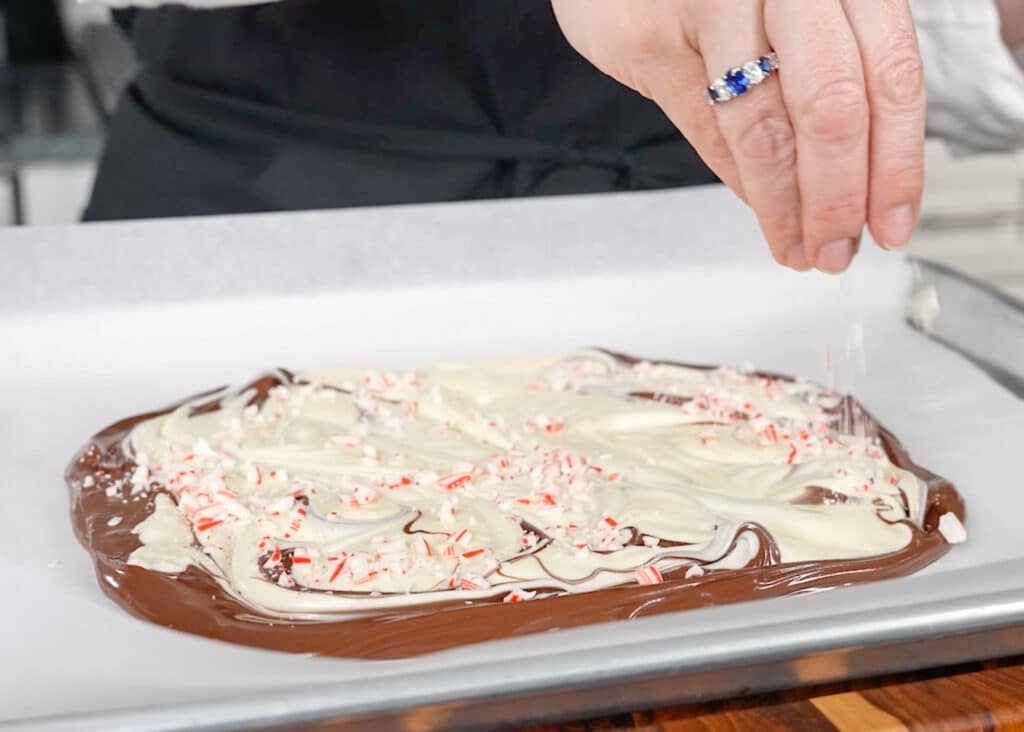
Chilling: You’ll want to let the bark sit in the refrigerator until it firms up. This will take at least 1-2 hours.
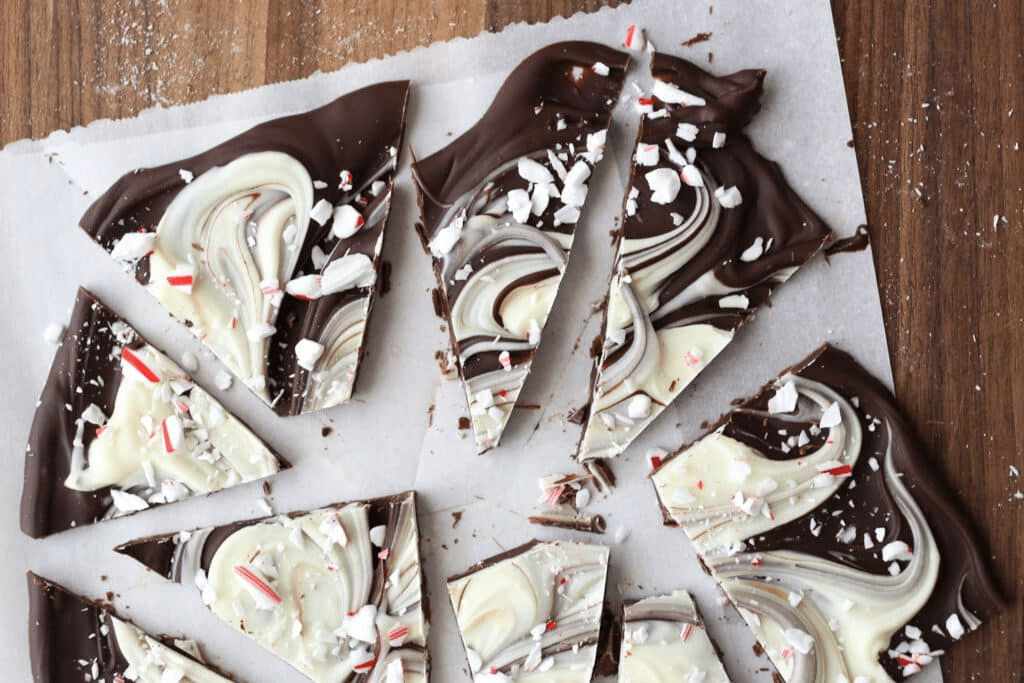
Serving: I like to slice the bark into bite-sized pieces, and then set it out for people to snack on.
Expert Tip
A microwave is the fastest way to melt chocolate with as little hassle as possible. But, that does come with the need to keep a close eye on the chocolate and use short intervals. I typically allow for 30 second increments and stir between each.
The most important thing to remember is never to heat chocolate at full power. I set my microwave at 50% power when melting chocolate. This method of melting results in smooth, velvety liquid chocolate.
Measuring Peppermint Extract – I never measure peppermint extract over the mixing bowl, always off to the side. Because just a drop or two more than needed and that lovely mint flavor can turn ”toothpaste” real quick.
Fully Melting Chocolate – You’ll know the chocolate has melted properly when it’s smooth enough to pour, but running a spoon through the middle of the pan still leaves a trail behind. There should be a glossy sheen across the surface. The chocolate should never become hard, grainy, or resistant to stirring: that is called seizing.
Swirling the Chocolates – Swirling the chocolates together not only looks pretty, but also provides structural support. While you’re cutting the bark into pieces, swirling will help hold together the white and dark chocolate together.
Serving Suggestions
If you are putting a plate of this out in December, then there’s really only one thing to put out next to it. More peppermint! My vote will forever go to peppermint hot cocoa with a couple of homemade marshmallows, but you can also dress up a scoop of peppermint ice cream with a piece of two of peppermint bark. It looks and tastes even fancier that way.
Make Ahead & Storage
Make Ahead: Yes! This bark will keep in the refrigerator for a good while. For that reason, I find that this is an excellent treat to make in advance for the holiday baking season.
How to Store: I store it in an airtight container in the refrigerator.
More Homemade Candies
Frequently Asked Questions
Since the chocolate will be melted, it won’t make a difference. If I’m using chocolate bars, I chop them into small, bite-sized pieces first, to make melting easier.
For a light, crunchy bite, I usually aim for layers about 1/8″ thick. You can redistribute the chocolate with a spatula if it looks uneven in the pan.
Layers up to 1/4″ will still set, but thinner layers are much easier to bite and break apart. Thicker pieces of chocolate bark can be difficult to comfortably chew.
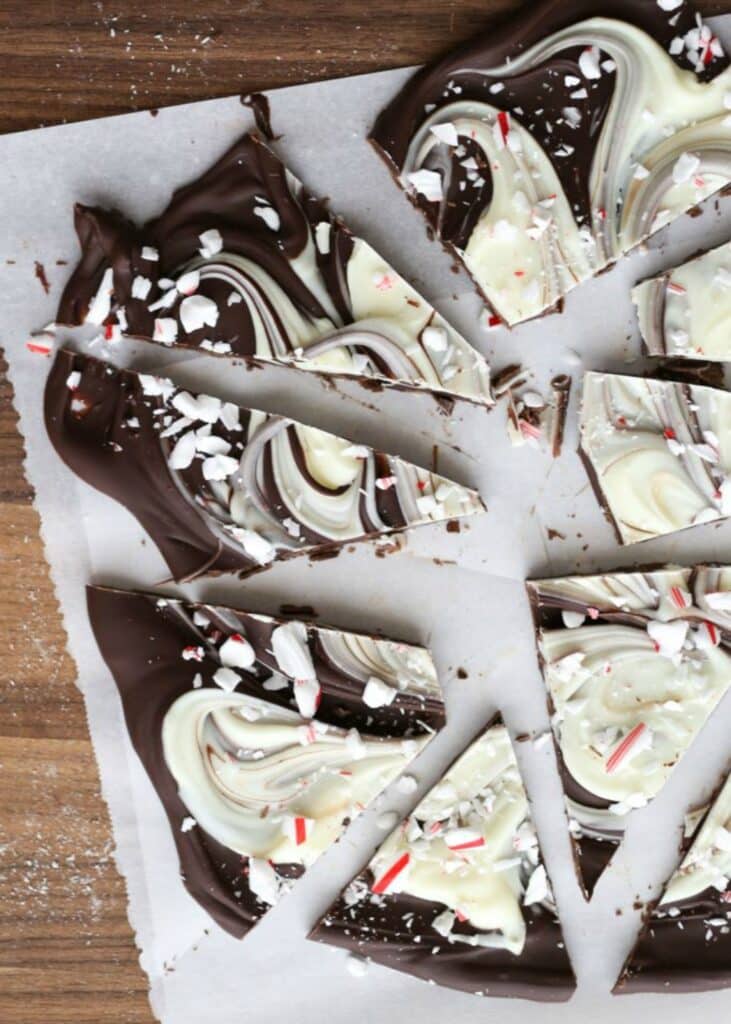
Once the bark has had time to set in the refrigerator, it should feel firm and snappable. You’re looking for a satisfying crunch in each bite.
Line a large baking sheet with parchment paper. Place the white chocolate and the semi-sweet chocolate into two separate glass bowls. Add ¼ teaspoon of peppermint extract to each bowl.
Place the dark chocolate in the microwave and heat 90 seconds, as 50% power, do NOT heat at full power. Stir and heat an additional 30 seconds at 50% power. Stir again until smooth. Pour the chocolate onto the parchment lined baking sheet and use a spatula to spread it across the paper.
Repeat the melting process with the white chocolate. Spoon the melted white chocolate over the dark chocolate. Use a knife or the edge of the spatula to lightly swirl the chocolates together.
Sprinkle with the crushed candy canes. Refrigerate until firm. Use a knife to cut the bark into pieces. Store in an airtight container for up to two weeks.
Calories: 372 kcal | Carbohydrates: 36 g | Protein: 3 g | Fat: 23 g | Saturated Fat: 13 g | Cholesterol: 8 mg | Sodium: 29 mg | Potassium: 295 mg | Fiber: 3 g | Sugar: 30 g | Vitamin A: 25 IU | Vitamin C: 0.2 mg | Calcium: 80 mg | Iron: 2.4 mg
Nutrition information is automatically calculated, so should only be used as an approximation.
{originally published 12/15/14 – recipe notes and photos updated 10/1/26}
Trending Products

Candle Hotter Lamp, Electrical Ca...
10PCS Common Vacuum Attachments E...

DASH Scorching Air Popcorn Popper...

Barnyard Designs Ceramic Farmhous...

Auledio Iron 2-Tier Countertop Fr...
Sealegend 5PCS Vacuum Cleaner Equ...
Der Rose Fake Plants 4 Packs Arti...

Der Rose 4 Pack Fake Plants Small...

StepRite Kitchen Mats, 2PCS Kitch...